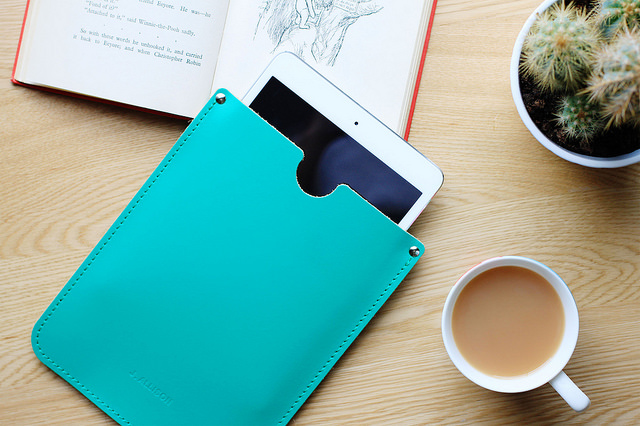
Brit-Stitch iPad Sleeve
I’ve spent the last week shooting some photos for my client, Brit-Stitch. I love doing photo shoots for Brit-Stitch – I’ve found lifestyle imagery works far better than a plain old product shot to help sell an item, so I’m always thinking of new scenarios to take pictures of.
A few weeks ago I wrote a post about my burgeoning love for photography and how I’m slowly developing my skills, so today I thought I’d share a few things I’ve learnt about shoot styling.
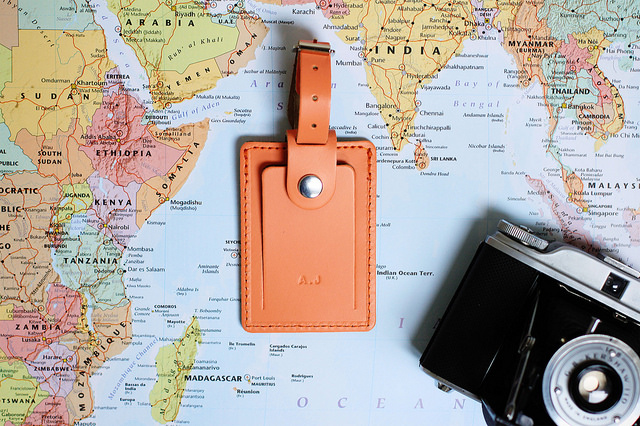
Brit-Stitch Luggage Tag
start collecting props.
I mentioned this in my last post on photography, but my love for car boot and charity shop tat has really stood me in good stead when it comes to styling my shoots. Antique cameras, vintage suitcases and old books are all fantastic for creating a quirky scene.
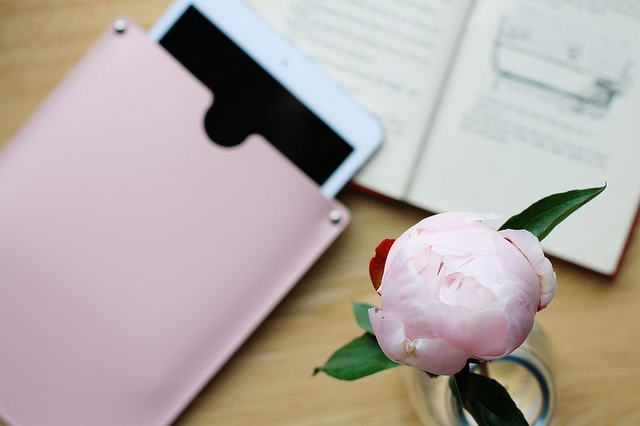
Brit-Stitch iPad Sleeve
play with focus.
You’d think when shooting products, the focus should always be on the product itself. But sometimes you want a softer, less direct image, and that’s when playing with the focus really works. I shoot with a 50mm 1.4 lens which is amazing for picking out a single focus and blurring everything else. In the images above, you can see how easy it is to shift the focus – the product is never lost and is still a key feature, but the image is less ‘sell’, more ‘story’.
use plants and flowers.
A bit of greenery or pastel petal can really perk up a photograph. I love bright blooms like tulips, daffodils and peonies – cut them short and arrange in simple bottles so they’re easy to fit into a shot. Cacti are also great and Ikea do the best mini ones in packs of three.
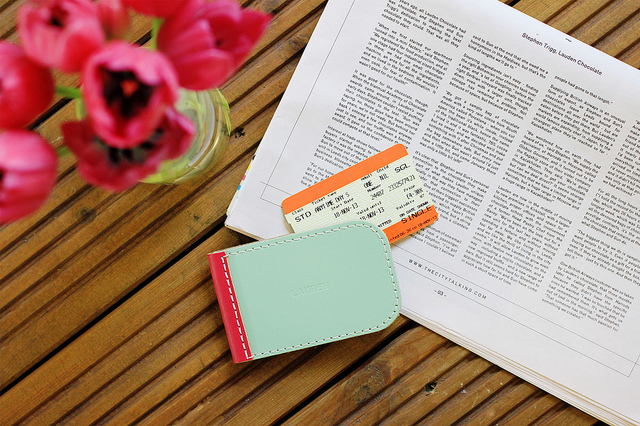
Brit-Stitch Card Holder
get the background right.
The background can make or break a product photo. Clean white surfaces and wooden floors are always good, but if you want to be more creative try fabric scraps or textured boards (like the marble chopping board I used for the photos in this post). I bought a big world map poster the other day and it’s proved an excellent background!
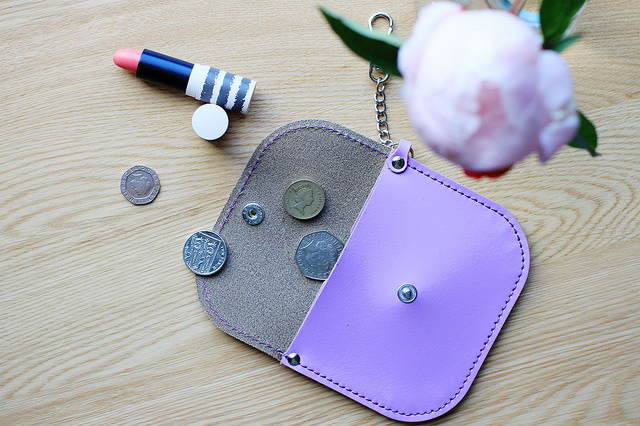
Brit-Stitch Coin Purse
add some context.
Particularly when you’re shooting products, it’s important to give your customers or readers a bit of context. Photographing makeup? Show your brushes too. Capturing a dinner dish? Get the wine glass and cutlery in there too. Including these additional objects helps set the scene and tells the story behind your photo.
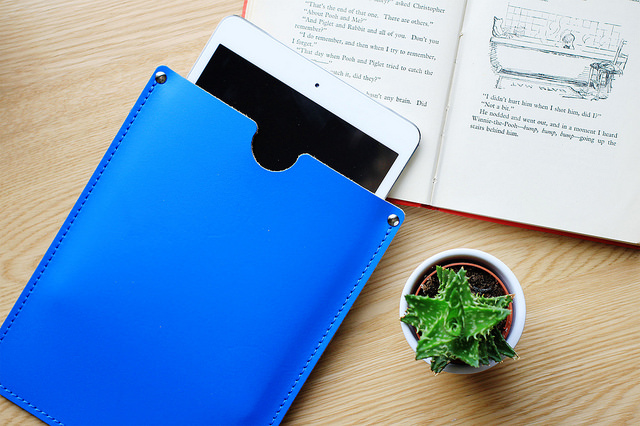
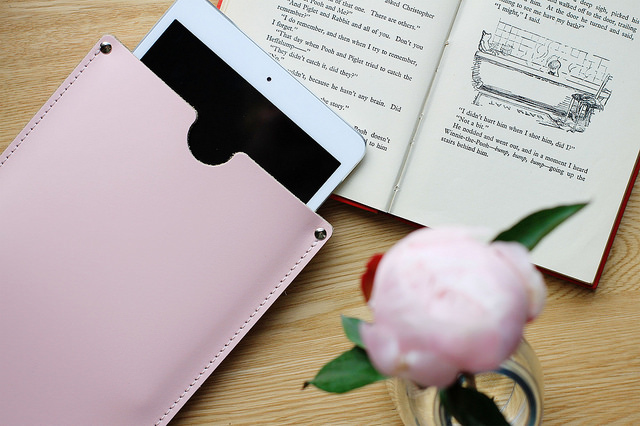
Brit-Stitch iPad Sleeve
let there be light.
I know lots of bloggers since the praises of daylight bulbs and box lighting, but I’ve never got to grips with artificial lights. It’s daylight or bust for me, so I tend to shoot at the weekend when I have time in the morning. I prefer to shoot in the attic rooms in our house – they have huge Velux windows that let in so much light and point it directly towards the floor, aka my shooting spot! If I’m using a piece of furniture elsewhere in the house (the shot above was set up on my bedside table), I’ll move it around so it gets the best light.
get colourful.
For me, product photos should always be in glorious technicolor. Nothing sells a product better than bright, bold shades that jump off the screen. Choose props that complement the colours in your products – the juicy green of the cactus works beautifully with the sky-blue of the iPad case, and both colours just pop. Add a little Photoshop enhancement – I’ve used Carrie’s Photoshop Actions for years – and you have an awesome photo!
So, these are my top tips for really nailing the styling of your photographs. Got any of your own?